Welcome to my blog.

Thanks for dropping by. I can see from my visitors log that I have lots of lovely visitors.
Please leave a comment so I know you called by!!xx


Thursday, 24 March 2011

Just Believe

Where has the last two weeks gone??

I've been really busy preparing for Stampin' Up! Workshops & making swaps for the Stampin' Up Mini Catalogue that launches on 1st April & all I can say is there are some fantastic new products for all you Stampin' Up! fans!!


On today's card I've used the gorgeous Just Believe stamp set (116948) which I absolutely love. I've used Stampin' Write markers instead of ink so that I could stamp the flowers in a different colour. I love this technique & so did the ladies at my workshop on Saturday.

I've used some retired Stampin' Up! papers on this card as I'm trying to use them up on the cards I sell.

The cardstock is Old Olive (106576) & the ribbon is Whisper White Organza (114319). I've used the Scallop Trim Corner punch (118402) to create the delicate corners.

Thanks for looking.

Wednesday, 16 March 2011

The same but different

A neighbour asked me to make cards for her husbands twin sisters who will be 60 this week. The brief was one likes pinks & one likes blues but she wanted the cards to be the same. She provided the pictures & I went to work.


For the blue card I've used Not Quite Navy cardstock (108606) & retired Stampin' Up! papers. The ribbon is Very Vanilla 5/8" Satin Ribbon (117291).


For the pink card I've used Rose Red cardstock (108613) & Blushing Bride Papers from the In Color Paper Stack (117158). The ribbon is 5/8" Organza in Whisper White (114319).


On both cards I've used the Boho Blossoms punch (119858), 5 Petal Flower punch (119880) & Basic Pearls (119247). I've punch using the papers to match the card & Vellum Paper (108631). I've also used the Scallop Trim Corner punch (118870) to add detail to the corners of the cardstock.


I'm entering these in the following

Papertake Weekly - Trio Tastic (Three flowers)

Daring Cardmakers - Make your own embellishments (flowers)
Right, off to deliver them, I hope she likes them.

Saturday, 12 March 2011

Crazy For Cupcakes

I have another Stampin' Up! workshop at home on 19th March and will be demonstrating the Crazy For Cupcakes stampset (111618) so I'm busy making samples to show the ladies how this set can be used.

I've staped the image in Basic Black (101179) on to Whisper White cardstock (106549) & then coloured using the In Color Markers (119801) and the cakes are coloured using the Crumb Cake Basic Stamp Pad (121030) using a blender pen.

Todays card is made using clours from the In Color Range (Page 81 in the catalogue). The cardstock is Pear Pizzazz and the Designer Paper from the PaperStack (117158) is Poppy Parade. I've punched the edges of the paper using the Scallop Trim Corner (118870) - this punch adds such a beautiful finish to any card.

I've stamped the sentiment in Basic Black (101179) onto a strip of Twill Tape (119970). In my opinion this tape is so under-used. It comes in three widths (I've used the medium width) & is ideal for use with buttons, stamps, brads, the list is endless!!

I've finished off with a row on the smallest Basic Pearls (119247).

I'm entering this card at

Cute Card Thursday - Birthday Card

Creative Card Crew - No flowers

Thursday, 10 March 2011

Love Letters

Today's card was inspired by a card I saw yesterday on Sarah-Jane's blog , I just love making my own flowers & am always looking for different ways to use my Stampin' Up! punches so just had to have a go at this beautiful rose. It's made using the Fancy Flower punch (118073) & Love Letters  Designer Papers (117162). . . . gorgeous!!
Here is the link to the tutorial for the rose done by Catherine. I particularly like her tip for keeping the roses upright while drying!! very clever.

I've used Real Red (106578) cardstock & Love Letters Designer Paper (117162).
I've made the corners at the bottom right hand side using the Eyelet Border punch (119853) in two layers. The ribbon is Real Red (119251) & finished off with a little bit of bling using Basic Rhinestones (119246).
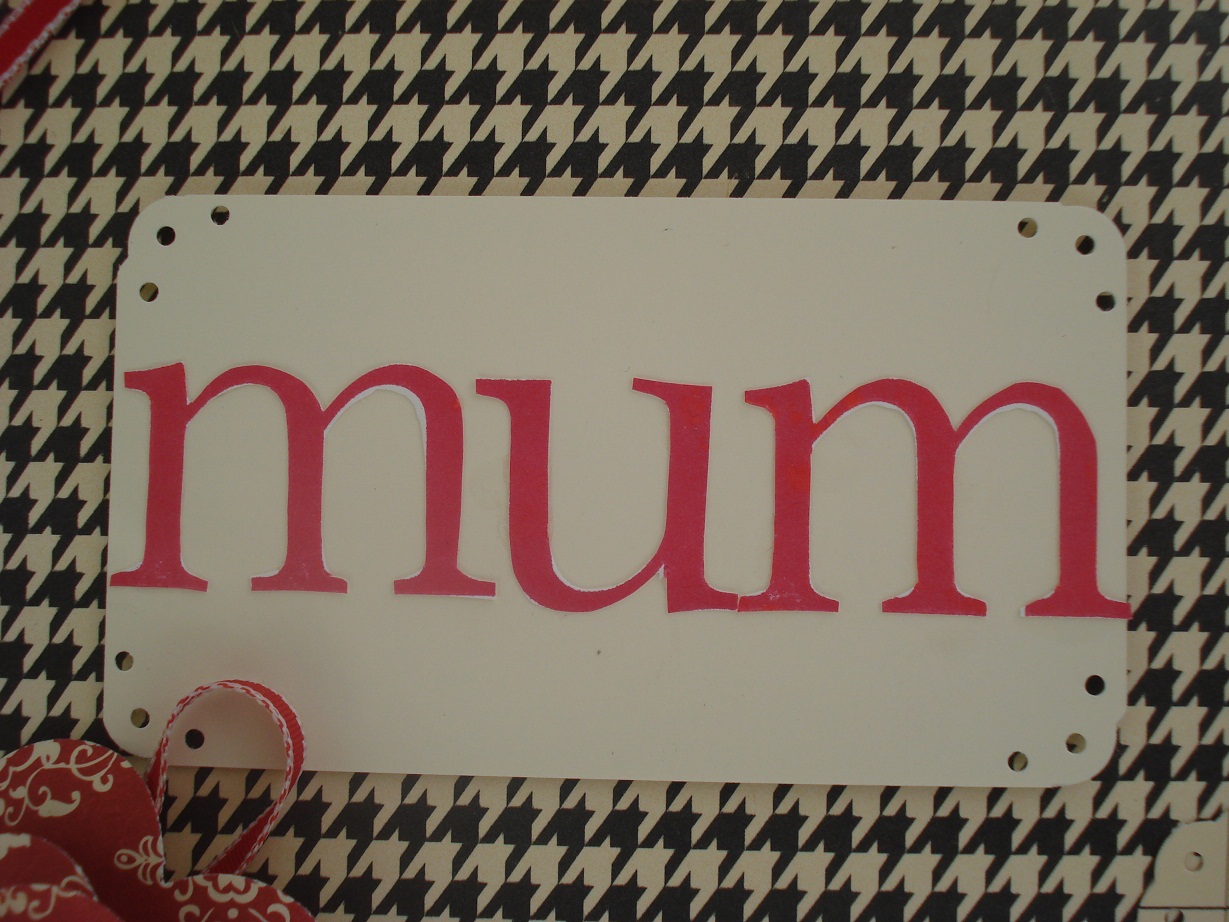
'MUM' has been stamped in Real Red Basic Ink (103133) onto Whisper White card (106549) & then cut out & mounted on Very Vanilla cardstock (106550). I've rounded the corners of this using the Eyelet Border Punch (119853).
I think I will have to make a box for this card as the rose stands very high off the card but it is a gorgeous embellishment & so easy to make.

Wednesday, 9 March 2011

Party This Way - So many ways

I wanted to show you today how versatile the Party This Way stamp set is by using it in three different colourways.
The first card is using Real Red (106578) & Bashful Blue (106565) cardstock and Celebrations Designer Papers (117164). I've cut a tiny strip on Real Red card on the guillotine to use as a thread for the bunting.


The next is using Chocolate Chip (108599) & Crumb Cake (121685) & again a tiny strand of the Chocolate Chip as string. I've stamped the balloon background in Crumb Cake Basic Ink (121030) & the bunting & sentiment are stamped in Bravo Burgundy (105214) onto Very Vanilla cardstock (106550).

And last but not least, my favorite of the three.

Rose Red (108613) & Pretty In Pink (106568) cardstock with Melon Mambo Designer Paper from the Brights paper stack (117155).

The bunting has been stamped with Regal Rose Basic Ink (105211) onto Whisper White cardstock (106549) & finished off with the very sparkly Basic Rhinestones (119246). The flowers have been punched using the smallest flower from the Boho Blossoms punch (119858) & a little Basic Pearl (119247) in the middle. The sentiment is from the Level 3 Hostess set Occasional Quotes which is a fabulous stamp set.

The lettering on all three cards has been stamped using the Just Perfect Alphabet (115358) perfectly aligned with my trusty Stamp-a-ma-jig (101049) a must have tool in any stampers arsenal!!

If you would like to order any Stampin' Up! products or need to know anything about Stampin' Up! please do not hesitate to get in touch.

I'm entering the 'Mum' card in the challenge at Cupcake Craft Challenge - Pink Polkadots & ABC Challenge - P is for Pearls

Thursday, 24 February 2011

Just For You

Shazza, one of my Stampin' Up! 'sisters' is not very well at the moment so I've made her this card to let her know I'm thinking about her. We both signed up as Demonstrators in January so are both frantically trying to build up a samples board so hopefully this will be one she can use.

I've used Melon Mambo (119980) & WhisperWhite (106549) cardstock & Melon Mambo Designer Paper (117155) from the paper stack (this is such great value for money!!)

I've made the flower using a strip of Melon Mambo paper punched down one side with the Eyelet Border punch (119853) & then run through the paper crimper (101618). I've them mounted the large & small flowers from the Vintage Vogue stamp set (117690) stamped in Melon Mambo (115656) & Rich Razzleberry (102277). The leavers are from the same set and are stamped using Old Olive (102277). The sentiment is from the Just Believe stamp set (116948) and is stamped in Old Olive (102277) and punched out using the Word Window punch (119857) then mounted on a tab made using the Scallop Trim Corner punch (118870).

I really like how this card has turned out so am off to make another one for my sample board!!.

Thanks for looking.

Wednesday, 23 February 2011

Down at the bottom of my garden . . . . . . . .lives


Here is my DT card for this weeks challenge over at Crafty Creations which is

Down at the bottom of my garden. . . . lives??,
your chance to let you fantasies run free!!


I've used a lovely fairy image & have used the 'out of bounds' technique but went a little bit wrong on the right hand side!! that'll teach me to slow down a bit.


I've mounted the computer printed sentiment on acetate so that it stands off the card which I've tried to show in this photo.

The flower is made using 2 of the flowers punched with the Five Petal SU punch & a rose in the centre. The ribbon is from my stash.

Thanks for looking.

Tuesday, 22 February 2011

A Bliss-ful Weekend - My First Workshop

I had my first Stampin' Up! Workshop at home on Saturday & when I woke up & saw the snow on Saturday morning, I'll be honest, I could have cried!!! Lucky for me the majority of people coming lived locally but even the 3 living further afield braved the snow in the name of crafting!!!

I was really nervous as to whether I would remember all the things I needed to tell the ladies as none of them had heard of Stampin' Up! before so everything was completely new.

On the advise of my lovely Stampin' Up! mum Jules I decided to demonstrate a scrapbook page using the beautiful Bliss set which is free with a spend of £45 or over until 28th February (not long left to get this beauty!!). I haven't done a scrapbook page before & apart from preparing the card & paper mats I was going to use the rest was done on a wing & a prayer lol!!

I've used a 12 x 12 sheet of Blushing Bride paper from the In Color Designer Paper Stack (119799) a mat of Pear Pizzazz paper from the same pack & a mat of Concord Crush cardstock from the In Color Card Pack (121701).

I've stamped the lovely big flourish from the Bliss set using the Pear Pizzazz Classic In Pad (119784). The page is finished off with ruffled 5/8" Organza Ribbon (114319) & journaling with a Stampin Write Marker from the In Color set of 5 markers (119801) in Pear Pizzazz on a tab punched using the Modern Label Extra-Large punch (119849). Some lovely little butterflies from the Bliss set stamped in Rich Razzleberry (115658) & little Basic Pearls (119247) to give that elegant touch. The Bliss wording has been stamped in Rich Razzleberry (115658) over the flourish stamped in Blushing Bride (119786) & punched out using the Full Heart Extra-Large punch (119883)

The whole page came together really well & I'm really pleased with the finished sample. It certainly helped to 'sell' the Bliss set & most of the ladies chose this as their free set after purchasing over £45 (before p&p) from the catalogue.

They all went on to make a 'make & take' I demonstrated & were all delighted with their stamping skills. All in all a very good workshop & a great start to my Stampin' Up! career as I also took a booking for another workshop. I managed to achieve a 'Level 3 Hostess Gift' & chose the Occasional Quotes & £60 in free goodies from the catalogue, the great thing about being the Demonstrator & Hostess for the workshop.

If you want to purchase anything from the catalogue or are interested in anything to do with Stampin' Up! then please don't hesitate to contact me.

Thanks for looking.

I'm entering this is the following challenges

ABC Challenge - Old Fashioned (I think the flourish & Bliss give this a vintage feel)

Incy Wincy Designs - Use punches

My Time To Craft - Hats (Johns top hat is in the picture!!)

Monday, 14 February 2011

Party This Way!!

Here is another project I've made to display at my first workshop on Saturday. I've used the template for the little gift bag I made in an earlier post but have adapted it to fit smaller 4 x 4 cards.

I've also made a selection of little cards to go in it all using the Stampin' Up! Party This Way stamp set & Celebrations Designer Papers.
For the string on the balloons I've cut some Crumb Cake card into very thin strips & attached it to the balloons.

I love this bunting stamp & used with the Just Perfect Alphabet stamp set you could write any message.
For this card I've cut some really this strips of Real Red card on the guillotine & threaded it through the bunting to look like string.

There's that Crumb Cake string again lol!!

and again!!!
 
                                                
Stampin' Up! products used

Stamp Set - Party This Way 118744 page 31 -  Just Perfect Alphabet115358 page 77
Designer Paper - Celebrations 117164 page 89
Ink - Pacific Point 111837 page 82 - Real Red 103133 page 82 - Pear Pizzazz 119784 page 81
Cardstock - Whisper White 106549 page 85 - Pear Pizzazz 121693 page 81 - Real Red 106578 page 82 Bashful Blue 106565 page 83 - Crumb Cake 121685 page 85
Ribbon - Real Red Taffeta 3mm 119251 page 96
Accessories - Silver Brads 104336 page 98
Tools - Word Window Punch 119857 - Modern Label Punch 119849 - Scallop Trim Border 118402 -  page 104/105 - 1/2" Circle Small 119869 page 106

Thanks for looking.

Saturday, 12 February 2011

Those yummy colours again

When I was asked for a Thankyou card for a 'retiring' governor at school I knew it had to be the Bliss stamp set & Rich Razzleberry & Old Olive colour scheme. I promise my next project will feature different Stampin' Up! designer papers lol!!

I've used the Just Perfect Alphabet set & stamped the 'Thankyou' directly onto the Designer Paper using my trusty Stamp-a-ma-jig!! an invaluable tool if you want to get your sentiments & lettering straight.

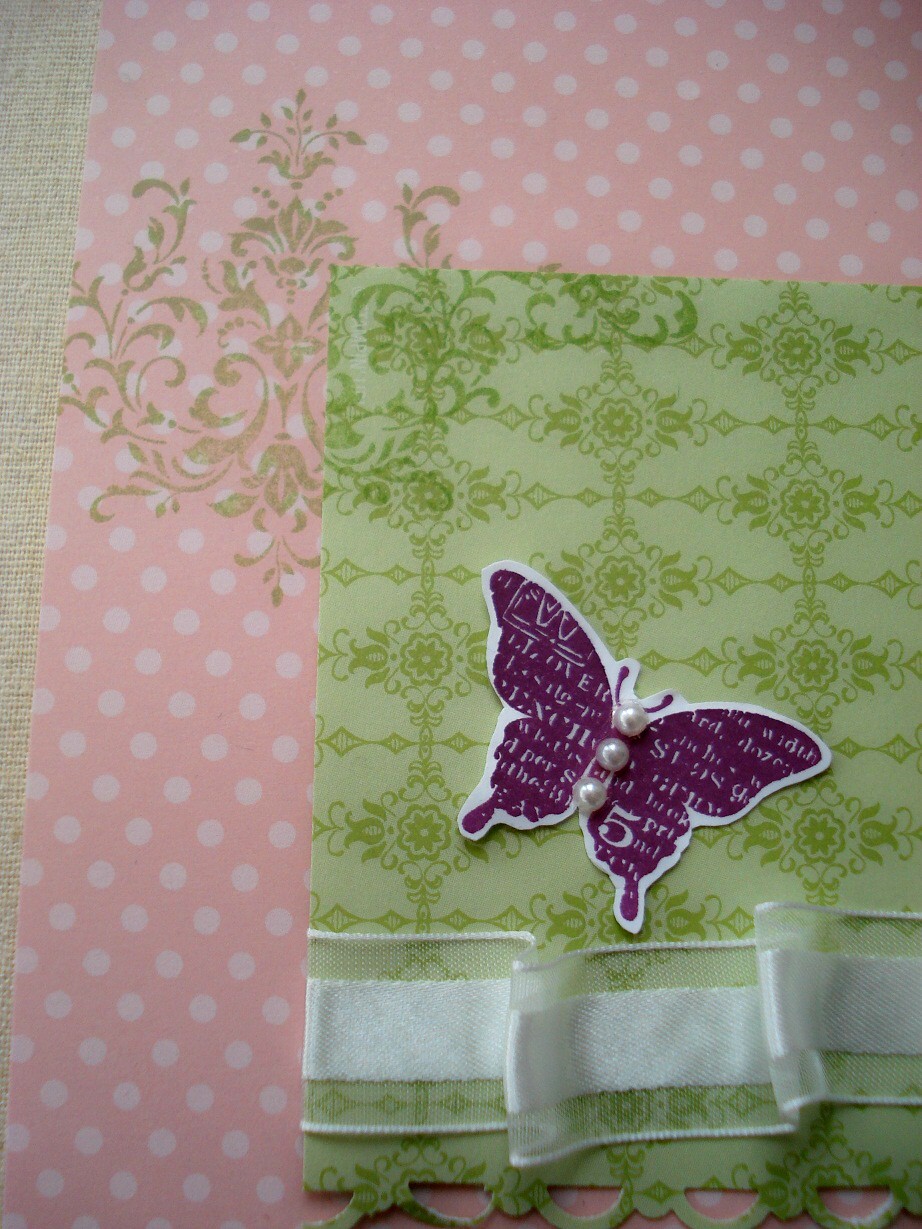
I've created a background for the butterflys on Very Vanilla cardstock using Old Olive & Rich Razzleberry Classic Stampin' Pads.

The cute little butterflys are stamped in Rich Razzleberry & finished with little Basic Pearls.

Stampin' Up! products used

Stamp Set - Bliss from the sale-a-bration offer - Just Perfect Alphabet 115358 page 77
Card Stock - Rich Razzleberry 119981 page 82

Ink - Old Olive 102277 page 82 - Rich Razzleberry 115658 page 82
Designer Papers - Brights Paper Stack 117155 page 91
Ribbon - Rich Razzleberry Satin 119752 page 96
Accessories - Basic Pearls 119247 page 99
Tools - Stamp-a-ma-jig 101049 page 107 - Scallop Trim Border punch 118402 page 104/105

Thanks for looking & for any comments you leave, I do appreciate it.