Welcome to my blog.

Thanks for dropping by. I can see from my visitors log that I have lots of lovely visitors.
Please leave a comment so I know you called by!!xx


Tuesday, 7 February 2012

Create a Cupcake Part 2


The other 2 projects from Saturdays class were this decorated bag & 2 matching gift tags.
You can get the bags in packs of 10 & they're great for co ordinating with your cards.

The new Scallop Circle Punch is fab for making these quick & simple gift tags.

Everthing from the class co ordinated & made a nice little gift set.

If you live in Leeds and would like details of my card & scrapbooking classes please drop me an email.

Stampin' Up! Products

Cardstock - Calypso Coral, Whisper White & Baja Breeze
Stampset - Create a Cupcake & Curly Sentiments
Ink - Calypso Coral, Crumbcake, So Saffron & Pretty In Pink
Punches - Cupcake, 23/8" Scallop Circle, 13/4" Circle & Eyelet Border Punch
Other - Calypso Coral Ruffled Ribbon

Sunday, 5 February 2012

Create a Cupcake

I think this might just be one of my favourite cards!! It looks complicated but really isn't one you break in down into sections. The ladies at both my classes this week really enjoyed making it.
                         
Thankyou to the lovely Angela of Sparkly Cards & Papercrafts one of my Stampin' Up! sisters as it was a  card she made that made me want to have a go & I finally managed to find the instructions here.

Stampin' Up Products Used

Cardstock - Calypso Coral, Whisper White & Baja Breeze
Stampset - Create A Cupcake
Punches - Small Oval, Scallop Oval, Scallop Border, Word Window & Cupcake
Ink - Calypso Coral, Wisteria Wonder, Pool Party, Rose Red, Pretty In Pink & So Saffron
Bigshot & Striped Embossing Folder
Other - Ribbon Baja Breeze

Tuesday, 24 January 2012

Sale-A-Bration 2012

It's Here!!
The most exciting time of the year in the Stampin' Up! Calendar (in my opinion!). The time when you can buy fabulous Stampin' Up! products and get amazing freebies!!

What is sale-a-bration?

Sale a Bration runs from today until 31st March. As a customer for EVERY £45 you spend you will be able to chose a free item from the sale-a-bration brochure which can be viewed by clicking HERE. There are 4 stamp sets and a beautiful set of papers to choose from & because sale-a-bration runs from today until 31st March you have plenty of time to earn all 5 items!!


If you host a workshop and the total is over £300 you also get an extra sale-a-bration set.


If you join my team during sale-a-bration you will receive and EXTRA FREE STAMP SET of ANY VALUE from the catalogue or the mini catalogue.

If you have any questions about sale-a-bration please drop me an email.

Sunday, 22 January 2012

Create a Cupcake but so much more!!

What do you think of the new Create a Cupcake stamp set & matching punch?!! Fab aren't they?

But what I love better than getting new products from Stampin' Up! is to find that they can be used for more projects than you first think.

Cupcakes are really 'in' at the moment so to be able to create them so easily is brilliant but this stamp set & punch can be used for so much more as we found out at last weeks Julies Jems Quarterly Training. What do you think of these for inspiration?
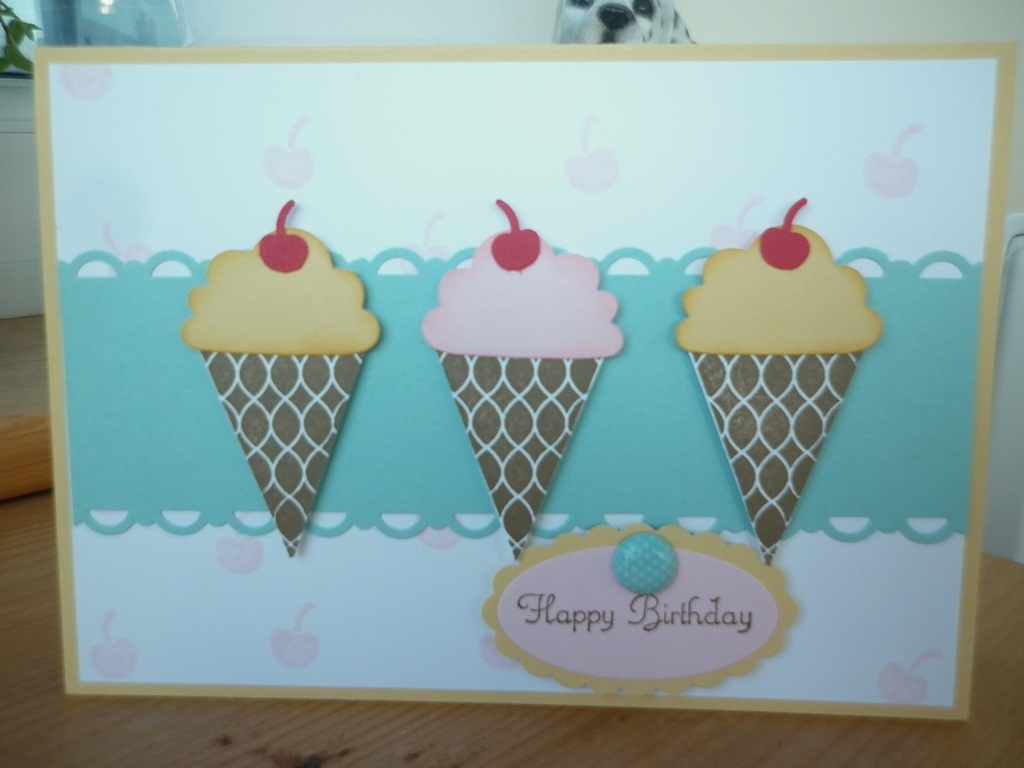
I think this has got to be my favourite!! The Create a Cupcake punch has been used to punch the ice-cream & cherries & the cones are from the Pennant Parade stamp set.
For this one the Create a Cupcake stamp set has been used to stamp the handbags & various circle punches used to make the handles & bag fronts.
The punch has been used for the clouds, the basket & the ropes on the balloon. Very clever!!
And you can even use the stamps to make popcorn buckets!!

All in all a very versatile stamp set & punch. I can't wait to see what else can be done with these.

Wednesday, 4 January 2012

It's Here!!


The New Spring Mini Catalogue!!

and it's full of the most wonderful craft items from papercrafting to jewellery & more lovely material.

If you would like a copy of the new mini you can get one from me for £1 including p&p. Please email me & I will get one straight in the post for you.

Or you can view one online by clicking on the picture below.


I have a class tonight & tomorrow night & we will be using one of the new stamp sets so I will be back later with some pictures.

Saturday, 31 December 2011

Happy New Year

I would like to wish all my blog readers a very

HAPPY NEW YEAR

and all the very best for 2012.

2011 was a very exciting year for me as I became a Stampin' Up! Demonstrator on 11/1/11 & what a year it's been. I now have a lovely customer base and a large group who come to my monthly classes. I also have a team of 4 demonstrators who are not only my downline but also lovely friends. It has been an absolute pleasure watching my class ladies develop their crafting skills especially those who had never picked up a stamp or ink pad before!!

I am looking forward to my business growing in 2012 and adding more classes & events so watch this space.

Thankyou again for taking the time to visit my little crafting space & I look forward to your visits in 2012.

Friday, 23 December 2011

Another Easel Calendar


Here is another version of yesterdays calendar. This time I've used the Stampin' Write markers & shadow stamped the image which gives a lovely subtle effect.

Stampin' Up! products used

Stamps - Love & Sympathy, Parlour Prints & the sentiment is from a retired set.
Papers - retired
Ribbon - Very Vanilla Satin
Ink - Pear Pizzaz & Poppy Parade Stampin' Write Markers, Old Olive & Basic Black Ink Pad
Other - Top Note Die

Thursday, 22 December 2011

Easel Calendars

Here is one of the projects we did at my last card class of 2011. Everyone really enjoyed making these calendars & some went on to make them as gifts for friends, colleagues & teachers! This one is from a batch I made to take in to work so I have used some retired products on these but the class ones used the gorgeous Timeless Portrait Designer papers.
I made a batch of these to take in to work & they also went down very well.

I'll be back tomorrow with another version of these calendars.

Stampin' Up! Products used

Stamps - Forever Young, Parlour Prints & Just Believe
Cardstock - Island Indigo
Ribbon - Retired
Ink - Basic Black
Papers - Retired
Other - Linen Thread & Top Note Die

Wednesday, 21 December 2011

Table Decorations

My lovely SU Mum Jules gave us all one of these cute little decorations at our last Julies Jems team training. We all make projects to swap with the rest of the team & it's great for future inspiration.

I made a batch of 15 of these & took them in to work last week. Talk about gone in 60 seconds!! the first 3 people bought all but one which I had to keep as a sample & took orders for more which have been delivered today.
Now all I need to do is make the ones for our Christmas dinner table.

Thanks Jules for all your inspiration in 2011 & here's to a prosperous Stampin' Up! 2012!!

Tuesday, 20 December 2011

Altered Heart

Firstly I need to apologise for my lack of blogging since the beginning of November. Things have been very busy in the Glynn Household & with one thing & another my blog had to take a back seat. I certainly haven't been idle & have been busy fulfilling lots of commission orders & Christmas orders & will be glad when Friday arrives & they've all been passed to their new owners!!

Right, on to today's project.

One of my closest cousins is my eldest daughters Godmother & I always struggle with what to buy her for Christmas so when I saw this gorgeous heart my 'SU sister' Nicky had made for our 'SU Mum' Jules I just had to have a go for my cousin. Sue really appreciates all things handmade & has kept all the cards I've sent her over the years so I know she will love this.

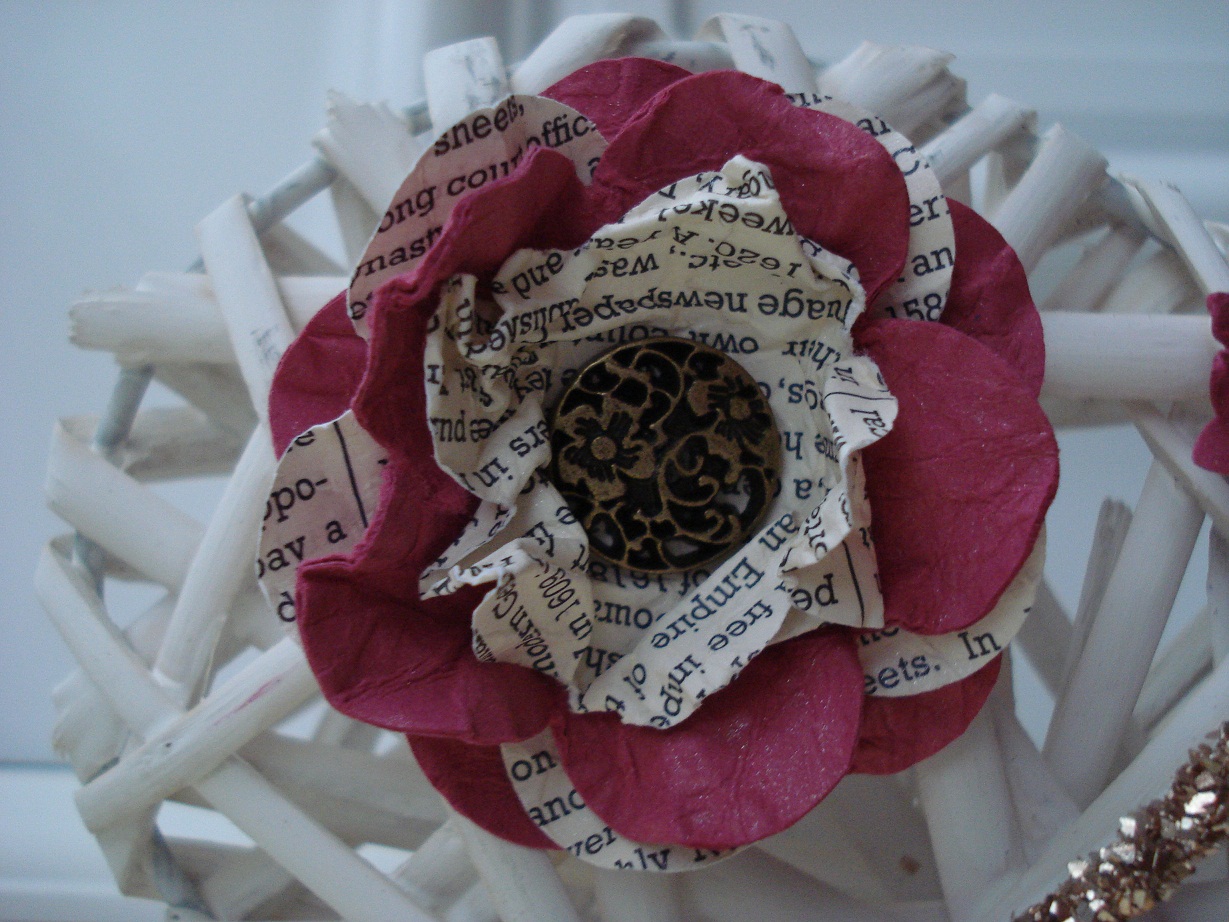
I spent an evening last week making these beautiful flowers using the Fancy Flower punch, Rose Red cardstock & First Edition Speciality papers finished off with the gorgeous Antique Brads, very therapeutic.

I've also added a little butterfly made with the Beautiful Wings Embosslits Folder & added some basic Pearls.
SUE has been die cut using the Timeless Type Junior Alphabet. I've cut eight of each letter & layered them to give a chipboard effect & then covered them with Crystal Effects.

A touch of Chantilly Lace in a double bow again finished with an Antique Brad and some Champagne Glass Stampin Glitter, very sparkly!!

The whole thing has been covered with Glimmer Mist made using the Frost White Shimmer Paint which hasn't shown up in the pictures but is beautiful in real life.

If you're still with me lol!! here is the heart before my makeover!